Introduction:
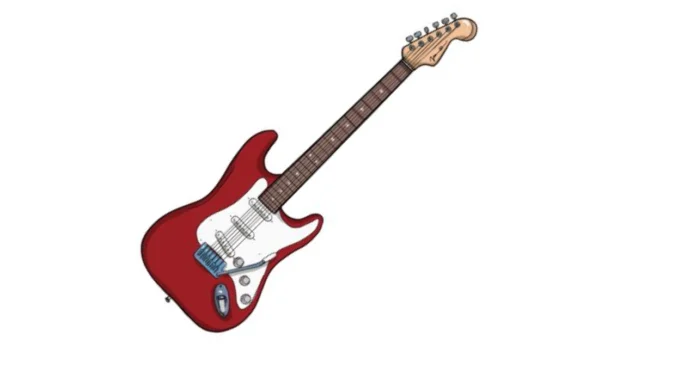
Draw An Electric Guitar: Drawing is a wonderful form of art that allows us to express our creativity and imagination. Drawing an electric guitar can be an exciting challenge if you’re a music lover or an aspiring artist. This step-by-step guide will take you through drawing an electric guitar from scratch. So grab your pencils, paper, and let’s get started! Also, you may like these free Turkey coloring pages.

Materials You’ll Need:
Before we dive into the drawing process, make sure you have the following materials ready:
Drawing paper: Use good-quality drawing paper to handle your chosen drawing medium.
Pencils: Get a set of graphite pencils with varying degrees of hardness (e.g., 2B, 4B, 6B) to achieve different shades and details.
Eraser: A kneaded or art gum eraser will best clean up mistakes and refine your drawing.
Ruler: A straight ruler will help draw straight lines and maintain proportion.
Reference Image: Find a clear image of an electric guitar to use as a reference. You can use photos from the internet or a guitar magazine.
Step 1: Basic Outline
Start by lightly sketching the basic outline of the guitar body. We will begin with a classic double-cutaway shape. Draw a long oval for the guitar body and add two smaller ovals at the top and bottom to create the upper and lower horns. Use your ruler to ensure the proportions are accurate.
Step 2: Neck and Headstock
Next, draw a long straight line extending from the guitar body. This line represents the neck of the guitar. Draw a rectangular shape for the headstock at the end of the neck. The headstock is where the tuning pegs are located. You can refer to your reference image to get the headstock shape right.
Step 3: Frets and Fret Markers
On the neck of the guitar, draw several horizontal lines close together to represent the frets. These are the metal bars that divide the neck into different notes. Add dots or small circles on the fretboard to indicate the fret markers. Common fret markers are usually found on the 3rd, 5th, 7th, 9th, and 12th frets.
Step 4: Pickups and Controls
Now it’s time to draw the pickups and control knobs on the guitar body. Typically, electric guitars have two or three pickups. Draw small rectangular shapes where the pickups should be placed. Then, add control knobs below the pickups for volume and tone adjustments. Use your reference image to get the positioning right.
Step 5: Bridge and Tailpiece
At the bottom of the guitar body, draw the bridge and tailpiece. The bridge holds the strings in place, and the tailpiece anchors the strings to the body. The bridge can take various shapes depending on the type of electric guitar you’re drawing.
Step 6: Details and Shading
Now that you have the basic outline of the electric guitar, it’s time to add more details and shading to make it look realistic. Start by refining the curves of the body, neck, and headstock. Add small details like screws, bolts, and other hardware on the guitar.
To create depth and dimension:
Use different grades of pencils to shade areas where shadows naturally fall.
Darken the areas around the pickups, knobs, and bridge to give them a 3D appearance.
Pay attention to the lighting in your reference image to get the shading right.
Step 7: Strings and Tuning Pegs
Draw the guitar strings extending from the headstock to the bridge. Electric guitars usually have six strings, but some have seven or even more. For the tuning pegs on the headstock, draw small circles or ovals at the end of the headstock.
Step 8: Finishing Touches
Take a step back and review your drawing. Make any necessary adjustments to ensure everything is proportionate and looks cohesive. Erase any unnecessary guidelines and clean up your drawing.
Step 9: Optional – Color Your Drawing
If you want to add a splash of color to your drawing, you can use colored pencils or markers. Many electric guitars come in various colors and finishes so that you can choose your favorite combination.
Conclusion:
Drawing an electric guitar may seem challenging, but with this step-by-step guide and a little practice, you can create a stunning piece of art that captures the essence of this iconic musical instrument. Remember to be patient with yourself; mastering any art form takes time and dedication. So, pick up your pencils, let your creativity flow, and enjoy the process of bringing this beautiful instrument to life on paper! For more information, please visit Tech Hack Post.

